

Guide to using Custom Channel Groups in GA4


What is attribution reporting in GA4?
To understand how users are being driven to your website and what impact different marketing channels are having on conversions, we must rely on the attribution reporting in Google Analytics 4 (GA4). Which channel a user or session is assigned to, depends on a set of conditions by Google, such as the Source and Medium of the referrer. Users of GA4 can then report using the Default Channel Groups.
When do the Default Channel Groups in GA4 not suffice?
Sometimes the data you see within the Default Channel Groups can appear inaccurate, or not align with your expectations. This can be for several reasons, but the most common pitfall is through UTM parameters being set incorrectly and Google, therefore, not recognising a user in the correct group. A robust UTM schema should be followed to avoid this problem. However, it can be a timely and costly process to standardise all links with UTMs on.
How do Custom Channel Groups work in GA4?
Marketeers and analysts have relied on being able to tweak the channel group definitions to catch those who slip through the gaps and are wrongly attributed. Customising channel groups was a long-standing feature of Universal Analytics, yet was missing from GA4 until very recently. Now that we are once again able to create Custom Channel Groups in GA4, we are here to show you everything you need to know.
To set up Custom Channel Groups in GA4:
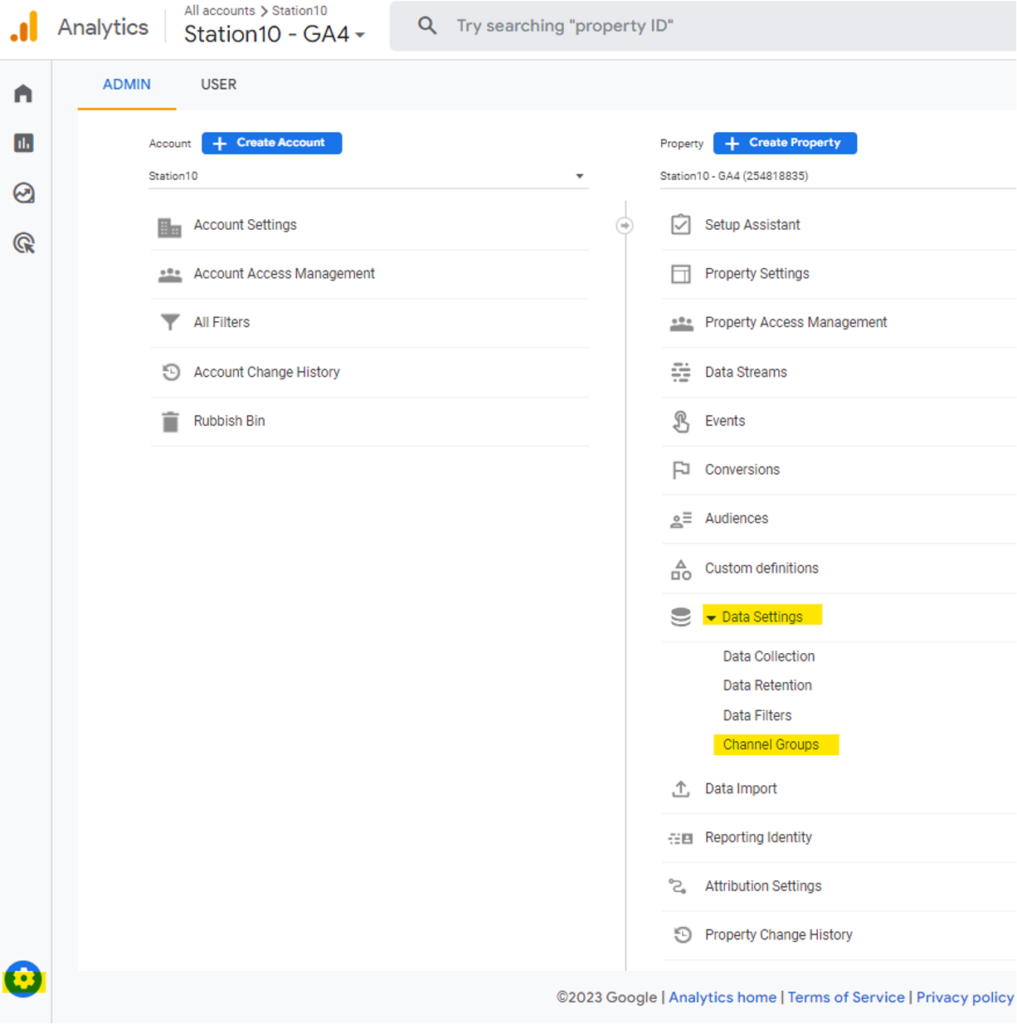
- Go to Admin > Data Settings > Channel Groups
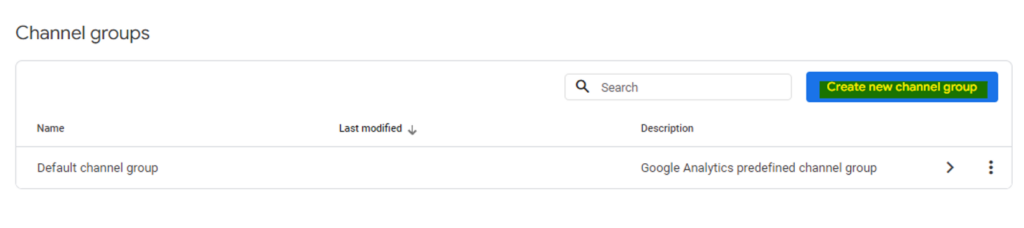
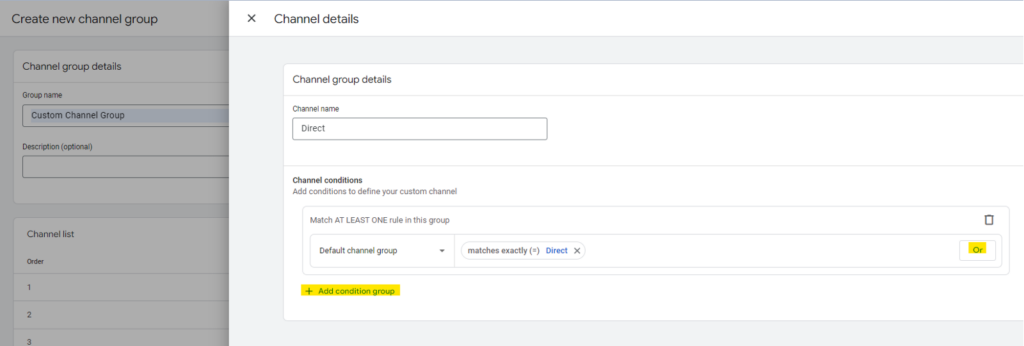
- Click to ‘Create new channel group’
- Give your new group a name
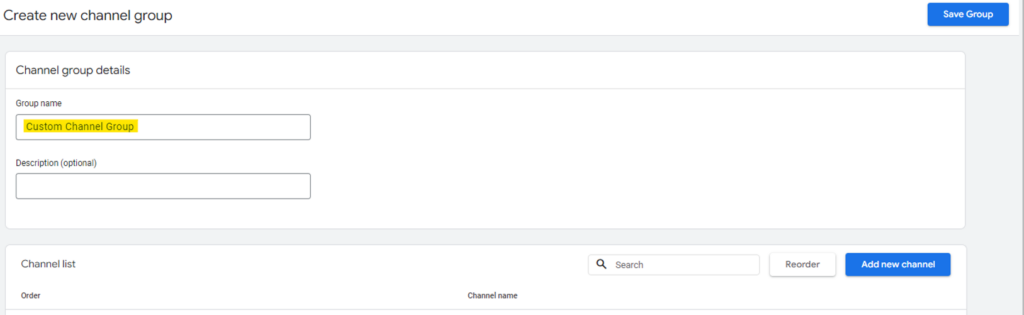
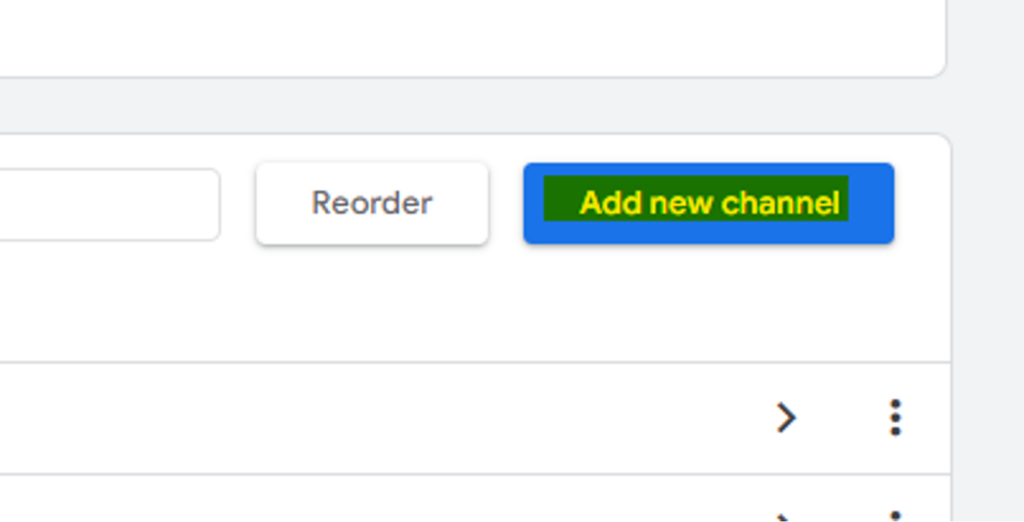
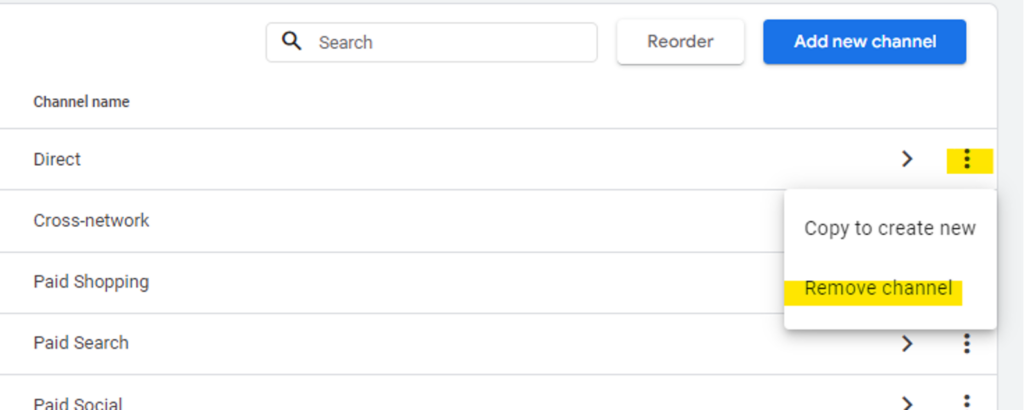
- Define your new custom channels as required: Click on an existing channel to open it, and tweak the conditions within it, remove an existing default channel entirely, or add a new channel from scratch
How to decide which conditions to use in your Custom Channel Groups?
It is important to make sure you define your groups correctly, with no contradicting conditions between groups and ordered in a sensible way. You may require help from a consultant at this stage, but there are some steps you can take yourself first.
Use the debug view to test links:
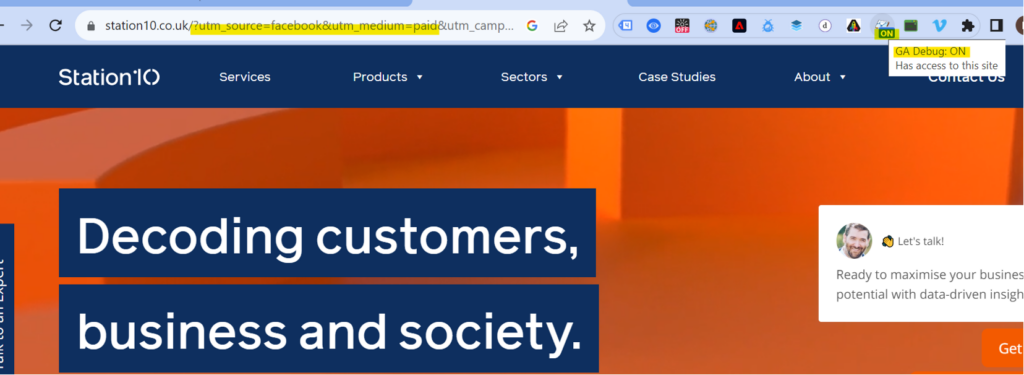
Make sure you have the ‘Google Analytics Debugger’ extension enabled.
Visit your site with the UTM parameters in the link that you are looking to test:
In GA4, go to Admin > DebugView where you will see your hit coming through and can check what values are being captured as the Source and Medium
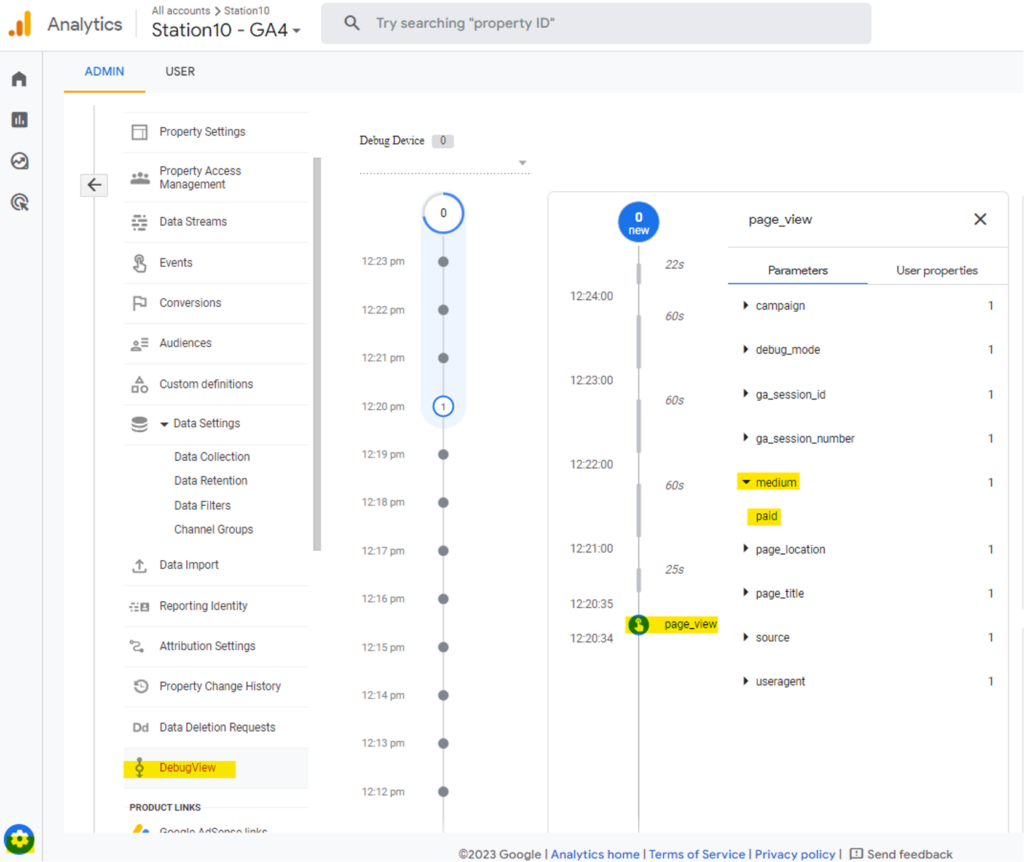
You can use these values in the conditions of your groups as required.
Use the built in acquisition reports to see additional dimensions against each group:
Go to Reports > Acquisition > Traffic acquisition
Search for a specific Default Channel Group
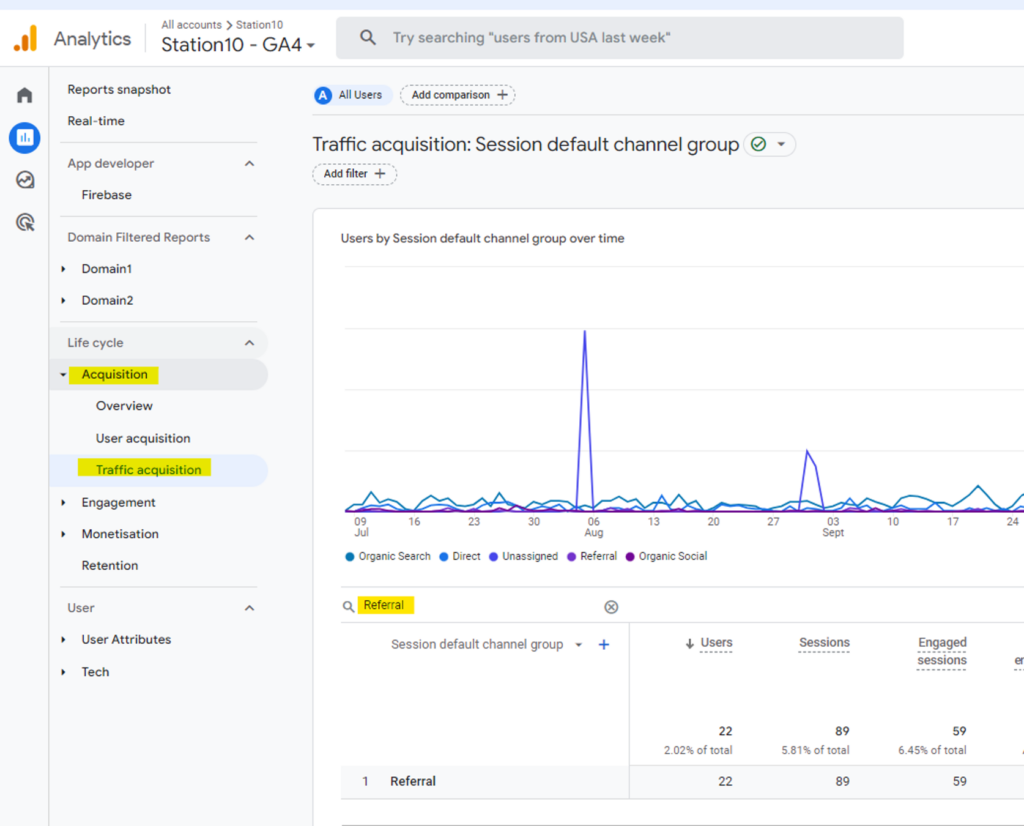
User the blue ‘+’ arrow to add a Secondary Dimension, for example, Session Source/Medium
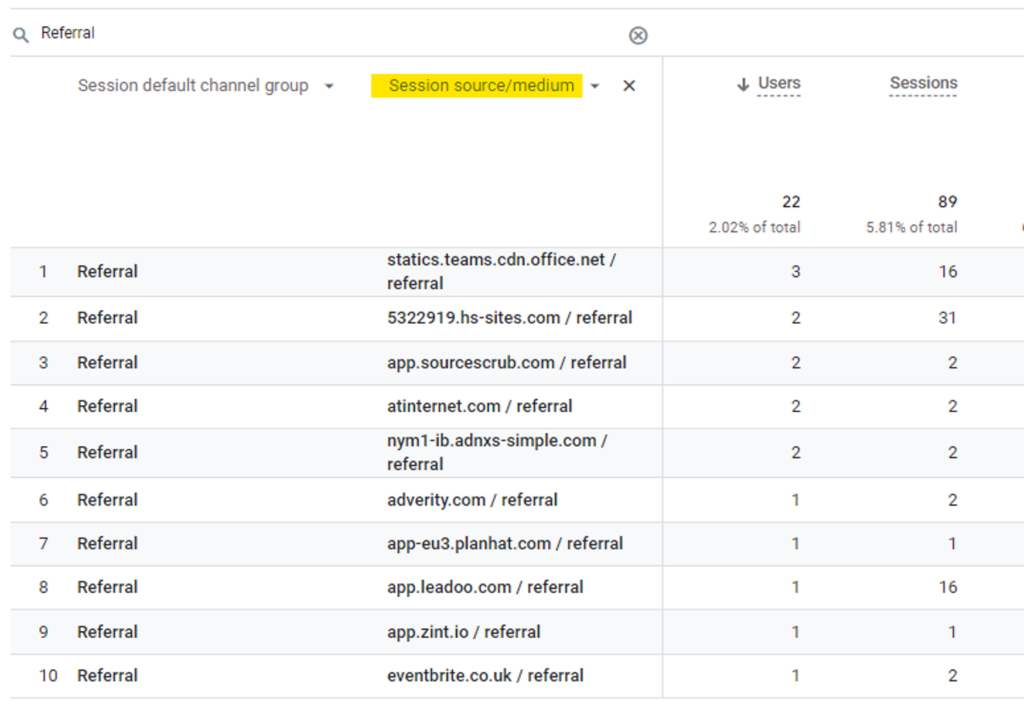
Review this list and if there are any source domains which you believe should sit within a different channel group, use it as a condition in you Custom Channel Groups.
How to report on data collected by your Custom Channel Groups?
Once your custom channel groups are up and running, you can use the GA4 reports to see how traffic is being collected and attributed within them. In the Traffic Acquisition report you can use the drop down arrow to change the primary dimension from Session Default Channel Group to Session Custom Channel Group.
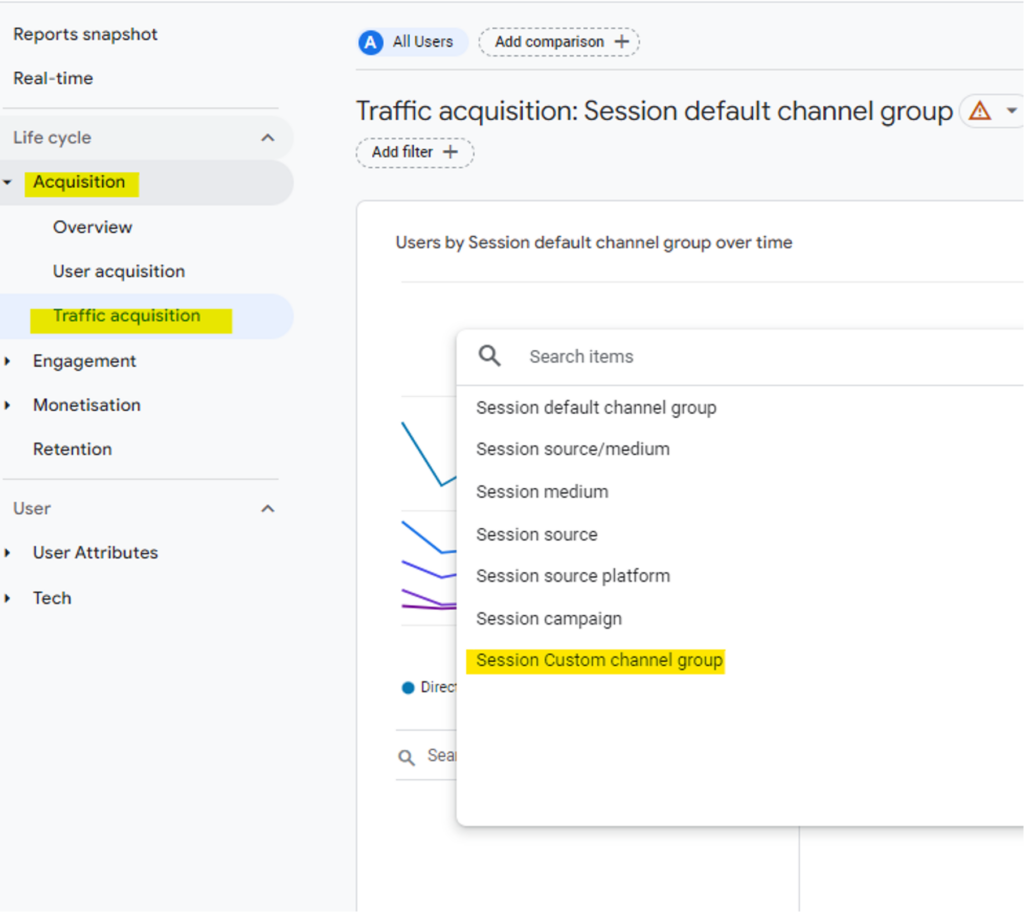
Here you can validate the levels of data in each channel and ensure they have been defined correctly.
Hopefully this guide will help you with setting up your Custom Channel Groups and you will now have access to much more accurate attribution reporting than you were able to with only the Default Channel Groups. You can find more information at the Google documentation here.